
Hi everyone! Yesterday I played around with eggs! Easter is coming soon. I love Easter. When I was younger I loved it because Easter is so close to my birthday, we used to celebrate my birthday and Easter on the same day. Now it's just all about the season for me. I love the pastel colours and the spring flowers. It just feels like a time of regrowth and renewal to me. Everything smells fresh and clean.

I couldn't let Easter pass by without decorating some Easter Eggs and this year I took a more kitschy, homemade approach. So I hope you like my Easter Egg Decorating Tutorial/DIY plus some cute display options.
This is what you'll need:
- eggs (I used seven. Plan to eat a lot of eggs that day, so they don't go to waste! We just need the shell!)
- knife and chopstick (This is what we used but you need anything with a point that can pierce the egg and then something to get the egg out of it's shell.)
- bowl (to empty raw eggs into.)
- food colouring (I used four. Mine are Neon style - blue, pink, green, and purple. But any kind will do.)
- small bowl of water (You will need to change the water for each egg.)
- markers (regular sharpies work well.)
- metallic gold marker
- gloves
- paper towel
- cake pan (or anything you can stand the eggs up in that can't get stained.)

Prep:
Okay I hope you planned a day full of cooking and baking with eggs! We had lots of scrambled eggs and I baked cookies too!
Find the base of your egg (the bigger end.) This is where we will poke the hole. You can use whatever you want to pierce your egg. We just had a little pointed knife. (I say we because my boyfriend helped me out here!) Gently chip away and make a hole. You want to make a hole big enough for the egg to come out, but not too big that's it's very noticeable. About a cm will do.
Now use a pointed object (we used a chopstick) to coax the egg out of the shell and into a bowl. Take your time so the egg does not break. Just let it drip out.
Clean your eggs. Rinse them out with water. You can also use a bit of soap. There shouldn't be any residue left in there.
Now rest them on a paper towel.
Food Colouring Time!:
Fill your bowl with warm water.
Put on your gloves!
Add a couple drops of food coloring (one of each colour you want to use.)
Now dip in your egg and lift out. It will look like a light wash of colour.
Holding your egg over the bowl, drip food colouring on top of your eggand turn your egg around and around slowly. This will help the food colouring spread around the egg better.
Once it looks the way you want to, place it down in your cake pan sitting up. Because of the hole in the bottom it should stand up on it's own. If some don't just lean it carefully on the edge of the pan.
Rinse out your water and keep repeating these steps with all your eggs. I did four this way.
Once they're finished and all in the pan, leave them for a few hours to dry.
Decorating with Markers:
You've waited and your eggs are now dry. Take then out of the pan one at a time and gently pat the bottoms with a paper towel to make sure they're dry. This part needs to be done very slowly. You need to keep paper towel with you to wipe your fingers, because if they get wet at all the marker and watercolour dip dye you did will start rubbing off and melting off your egg! I found it was best to pick up an egg and colour it while only holding onto the bottom of the egg. It's tricky, but it will keep things from smudging.
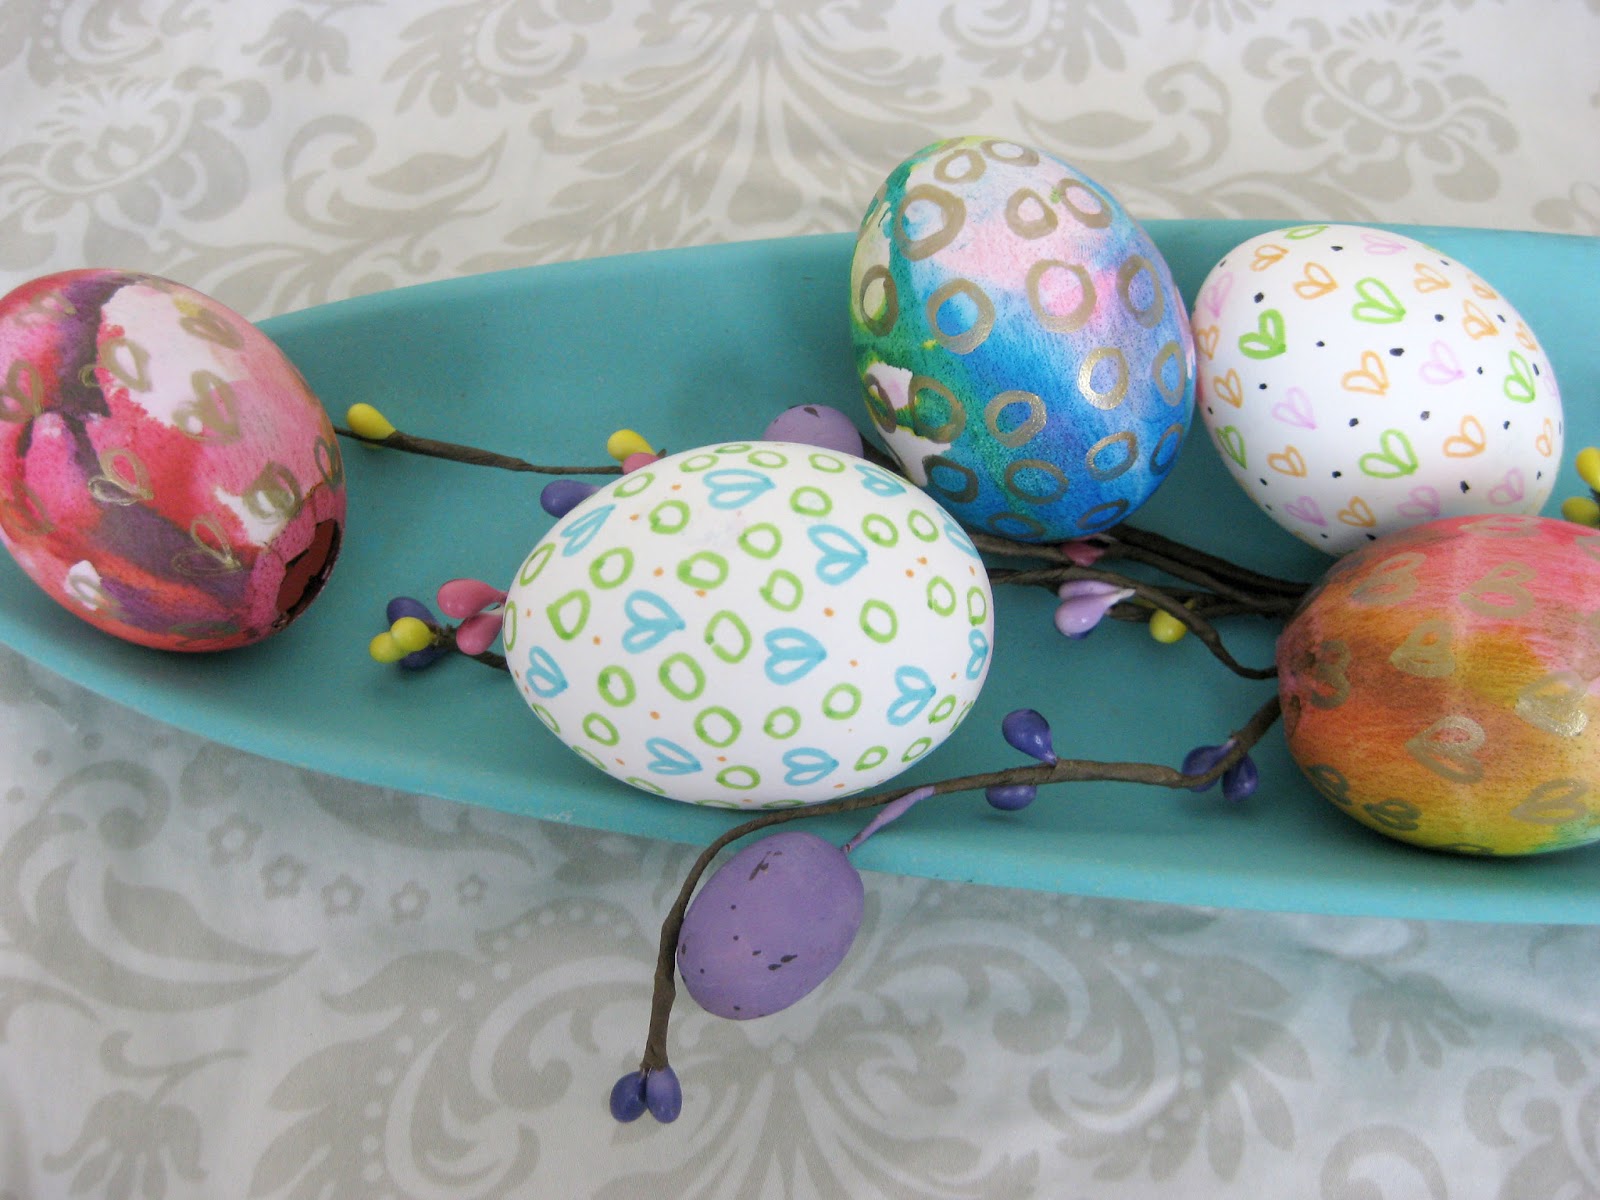
Take the markers of your choosing and create cute springtime designs in keeping with the colours of your dyed eggs. I coloured three eggs and used a gold marker to go over my watercolour eggs. It really adds some dimension!
Now let your eggs rest for a bit to let the marker dry.
Display Your Eggs!:
What will you do with your eggs? Are you keeping them for yourself? Are you giving them away? How will you display them at your house?
We're keeping the eggs in our house until Saturday when we go to my moms for Easter dinner. Then they will go over there with us! Until then they are looking so pretty in our living room.
This is what we did:


This is a shelf in our living room TV unit. As you can see, we have a very unique way of decorating at our house. Wai (my boyfriend) enjoys comics and vinyl toys. I love girly vintage things. We make it work.
Want a more modern option? I set this up for you guys too. Just to show a more modern take on Easter decorating. I really like them both ways!

Have a great day!
Marissa xo
CharmingShop
No comments:
Post a Comment